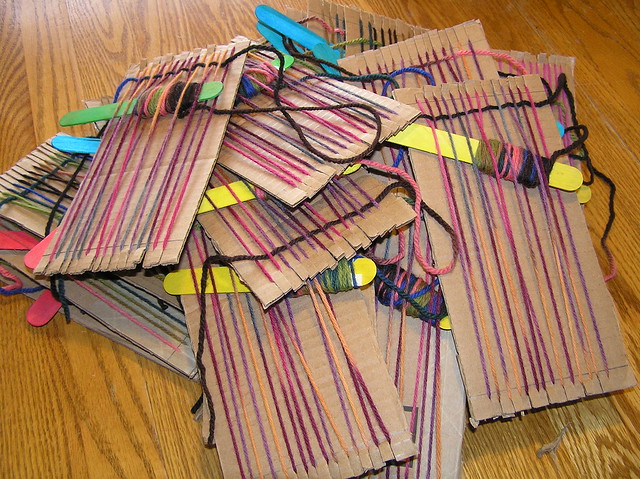
Here's a quick summary and some pictures of how to do this at home. (Pics show a knife being used instead of a craft stick. This was on my prototype before I went to the craft store to buy the craft sticks. The kids received no-knife shuttles. LOL)
An alternative to making your own looms is to go to Blick Art Supply. They sell sets of a dozen pre-cut cardboard looms.
A cardboard loom is a great way to introduce children to weaving and to fiber arts in general. They are simple to make and fun to use.
Materials needed:
Cardboard
Scissors
Tape
Yarn
Craft Stick
Large Eyed Needle
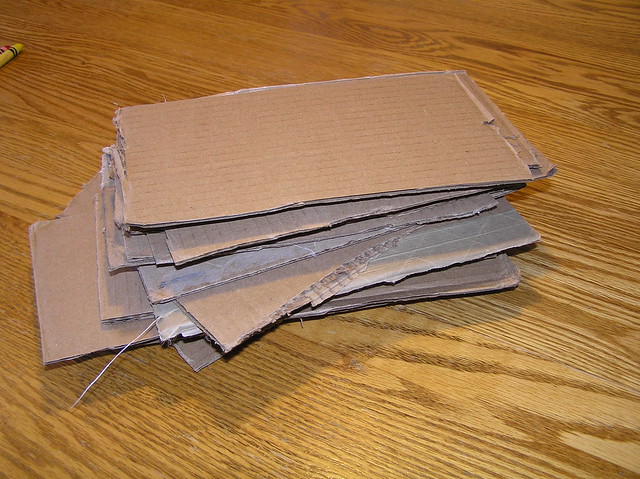
Making the loom
- Cut a piece of cardboard from a box, cereal box or poster board. The piece should be thin enough to easily cut with scissors, but firm enough that it will not bend easily with the weaving.
- Cut slits every quarter inch at the top and bottom of the board as shown.
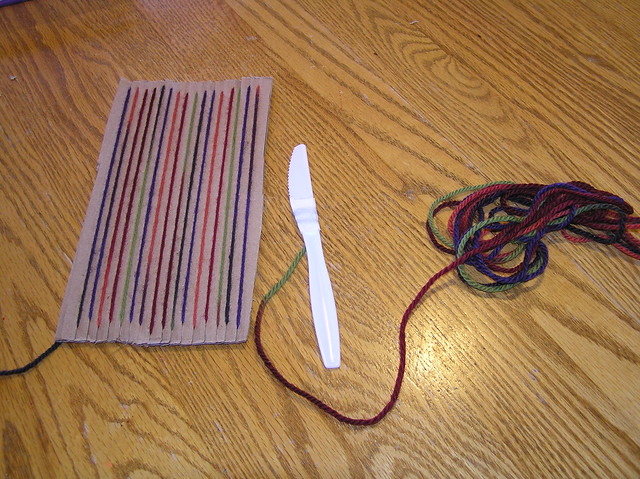
Warping the Loom (Stringing it up)
- Leaving a 3” tail, tape the end of your warp string/yarn to the back, bottom left of your loom.
- Bring the yarn through the bottom left slot and up to the top left slot.
- Wrap around behind the cardboard between the 1st and 2nd slot and bring back through the second slot on top back down to the bottom second slot.
- Wrap around behind the cardboard between the 2nd and 3rd slot and bring back through the third slot on the bottom back up to the third slot on top.
- Continue these stops across the cardboard, finishing at last slot and taping a 3” tail to the back.
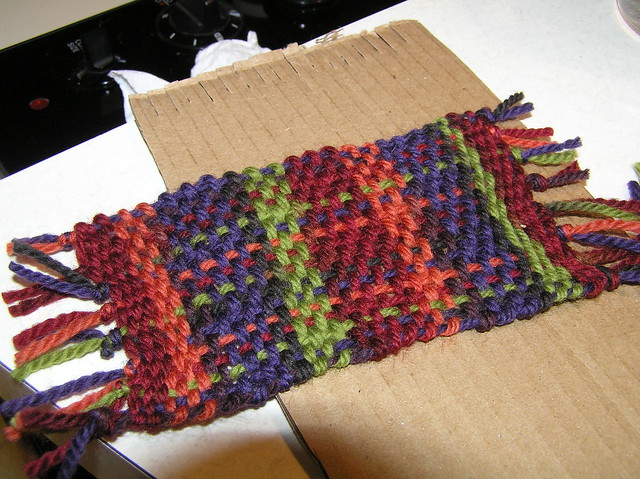
Weaving
- Tape a long piece of yarn to a craft stick.
- Starting at bottom left, begin weaving the yarn through. Over the first warp thread, under then next, over the next, under the next, across the warp.
- When you reach the end of the row, work back across the loom, alternating the over under from the previous pass.
- Every pass or 2, snug up the rows to each other with the end of the craft stick, your fingers, or a wide tooth comb also works well.
- Work as high on the loom as you want, but leave enough warp at top to cut and tie in a knot.
- When you finish, remove piece from loom and knot ends. Trim them to ¼”
- Weave in loose ends using large eyed, blunt needle.

No comments:
Post a Comment