Well, it's been 3 1/2 months since I set up my new blog. Have I blogged on it? No. Have I moved forward with a name change to my store? No to that too. I'm still not sure on the name change for my online shop. Regardless, I feel the new name for at least my blog is very fitting to me!
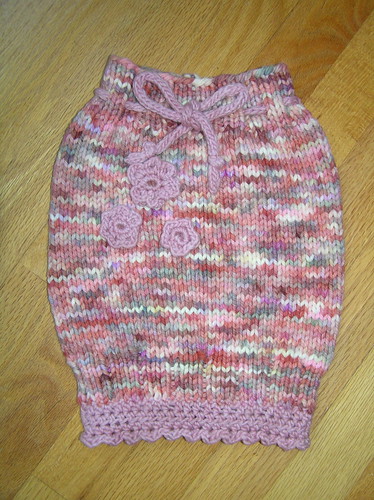
I have, however, been weaving and knitting up a storm. I have 3 new patterns I'm working to write up. I've joined a new Congo, Bitty Fluff. And, just yesterday, I started spinning. My wheel should arrive Tuesday, but for now, I'm playing with a spindle.
Before my spindle arrived, some fiber arrived on Monday. I was excited to work with it, and thought I could use some practice in drafting. So, I decided to knit up something little and quick with some of the unspun BFL top I received. I drafted out the fiber a bit, to about pencil roving thickness, and cast on wildly. Here's the little item I came up with!
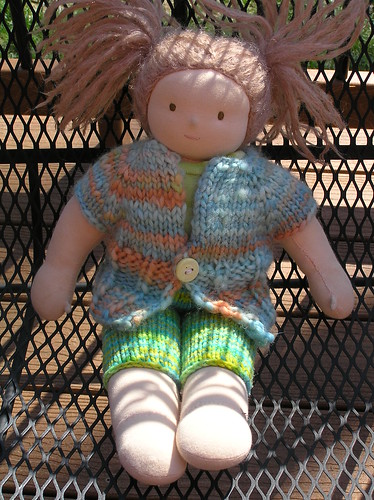
Definitely an unpolished and very simple item. Although, Jackie has declared I must make her one too, since Ella's doll is wearing this one. And, it must be made in "cute colors too!" So, I'll be repeating the process soon with another color.
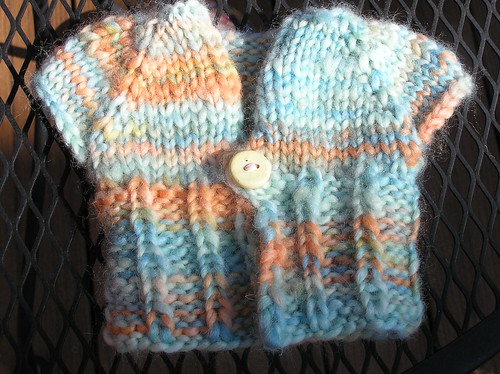
I shared these pics on Hyena Cart Forums and was asked if I had a pattern so the other mom could knit one for her daughter's American Girl Doll. Since I just did a quick raglan knit, I don't think a true "pattern" for this is warranted. However, I am happy to share a quick on-the-fly pattern for the bitty sweater. So here it is.
~~~~ Freckle's Unspun Dolly Cardi/Jacket ~~~~
Required Materials
NEEDLES/HOOKS
• Size 11 16" Circular Needle
• 4.5-5.5 mm Crochet Hook for weaving in ends
• button that is small enough to fit through knit stitch (no button hole is created)
YARN
• 1.5-2 oz BFL Top Spinning Fiber drafted out to pencil roving thickness or just a touch thinner (or start out with Pencil Roving from your favorite Fiber shop, or use a bulky/chunky yarn)
GAUGE
3.5 spi and 5 rpi
SIZE
Doll.... shown here on a 14" Waldorf doll. Also fits a regular sized Build a Bear, only a bit more tightly. Here's a pic on the Build a Bear.
Abbreviations:
CO - Cast On
K - Knit
P - Purl
SM - Slip Marker
KFAB - Knit Front and Back
BO - Bind Off Loosely
P2tog - Purl 2 together
And the pattern:
CO 24
Row 1: K 5, PM, K 3, PM, K 8, PM, K 3, PM, K 5
Row 2: Purl
Row 3: *Knit to one stitch before the marker, KFAB, SM, KFAB* repeat to end
Row 4: Purl
Repeat Rows 3-4 until you have 80 stitches (or 22 stitches in the back section)
Row 5: K 12, Remove Marker, BO 17, Remove Marker, K 22, Remove Marker, BO 17, Remove Marker, K 12
Row 6: Purl
Row 7: Knit
Row 8: (P 1, K 3) x 5, P2tog, K 3 (P 1, K 3) x 5, P 1
Row 9: *K 1, P 3* repeat to last stitch, K1
Row 10: *P 1, K 3* repeat to last stich, P1
Repeat Rows 9-10 7 times.
Bind Off in pattern.
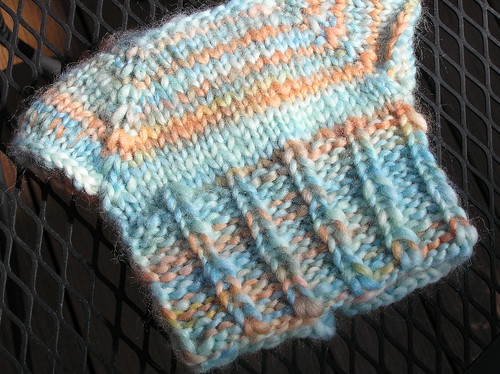
Finishing:
Use a crochet hook to weave in your ends.
Add a button just above the start of the 3x1 ribbing.
Wash and block (or don't.... the sample has not been).
Give to your daughter to adorn her dolly or teddy bear!
**** Use this pattern for whatever you like. If you chose to sell one of these sweaters, please just give me credit. And if you'd like, send me some chocolate. ;-) ******